

How do I replace a damaged panel of a WPC sliding door?
Jan 12, 2026
Leave a message
At our company, we take pride in being a leading WPC sliding door supplier. We understand that even the highest - quality products may encounter issues over time, and one common problem is a damaged panel on a WPC sliding door. In this blog, I'll share a detailed guide on how to replace a damaged panel of a WPC sliding door, drawing from our extensive experience in the industry.
Step 1: Assess the Damage
The first and crucial step is to thoroughly assess the damage to the panel. Examine whether the damage is minor, like a small scratch or dent, or major, such as a large crack or a broken section of the panel. Minor damage can sometimes be repaired with fillers or touch - up paints specifically designed for WPC materials. However, if the damage is extensive, panel replacement is the best solution.
Check the edges of the panel for any signs of warping or misalignment. This can affect the overall functionality of the sliding door. Also, look closely at the connection points between the panel and the door frame. Loose or damaged connections may need to be addressed during the replacement process.
Step 2: Gather the Necessary Tools and Materials
Once you've determined that panel replacement is necessary, it's time to gather the tools and materials. Here's a list of items you'll likely need:

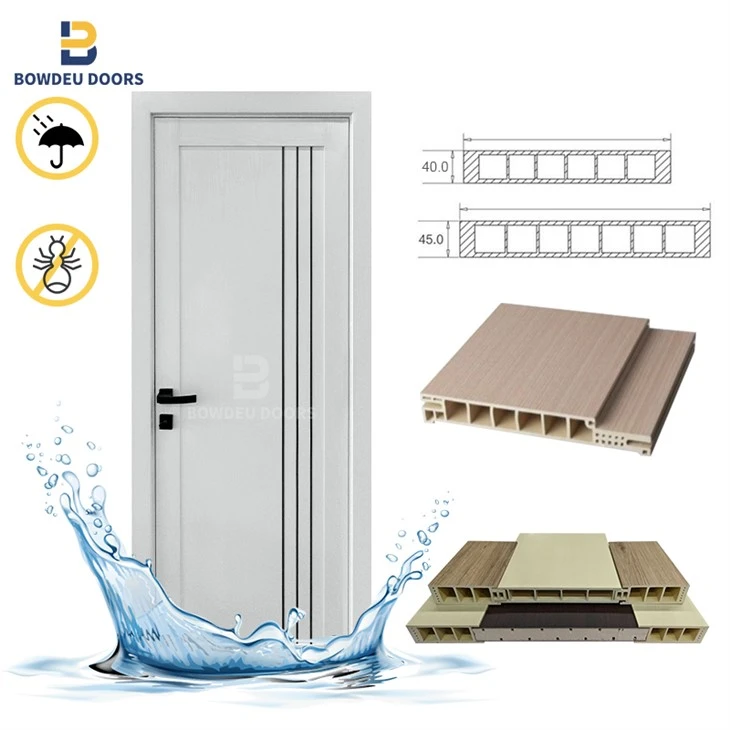
- Tools:
- A screwdriver set (both flat - head and Phillips - head) to remove any screws holding the panel in place.
- A utility knife to cut through any adhesive or sealant.
- A measuring tape to ensure the new panel fits correctly.
- A level to make sure the new panel is installed straight.
- A hammer and nails or a staple gun if the panel is secured with these methods.
- Materials:
- A replacement WPC panel. You can order a panel that matches the color, texture, and size of your existing door. As a WPC sliding door supplier, we offer a wide range of WPC Double Door, WPC Solid Door, and WPC Readymade Door panels to meet your specific needs.
- Adhesive or sealant to secure the new panel and prevent moisture from seeping in.
- Sandpaper to smooth any rough edges on the door frame or the new panel.
Step 3: Remove the Damaged Panel
Before starting the removal process, make sure the sliding door is in a stable position. If possible, lock the door to prevent it from moving during the replacement.
- Remove the Hardware: Use your screwdriver to remove any handles, locks, or other hardware attached to the damaged panel. Keep these parts in a safe place as you'll need to re - attach them later.
- Detach the Panel from the Frame: Carefully examine how the panel is attached to the door frame. In most cases, there will be screws along the edges or in the corners. Remove these screws one by one. If there is adhesive or sealant, use a utility knife to carefully cut through it. Gently pull the damaged panel away from the frame. If the panel is stuck, be patient and use a little force, but make sure not to damage the door frame.
Step 4: Prepare the Door Frame
Once the damaged panel is removed, it's important to prepare the door frame for the new panel.
- Clean the Frame: Use a clean cloth to wipe away any dust, debris, or old adhesive from the door frame. This will ensure a good bond between the new panel and the frame.
- Inspect for Damage: Check the door frame for any damage that may have occurred during the panel removal. If there are any small dents or scratches, you can use wood filler or sandpaper to smooth them out. For more significant damage, you may need to repair the frame before installing the new panel.
- Measure the Frame: Use a measuring tape to measure the dimensions of the opening in the door frame accurately. Double - check your measurements to ensure the replacement panel will fit perfectly.
Step 5: Install the New Panel
Now it's time to install the new panel.
- Position the Panel: Carefully place the new panel into the opening in the door frame. Make sure it is centered and aligned correctly. Use a level to ensure the panel is straight both vertically and horizontally.
- Secure the Panel: Depending on how the panel is attached, use screws, nails, or a staple gun to secure the panel to the door frame. Start by attaching the panel at the corners and then work your way along the edges. Make sure not to overtighten the screws or nails, as this can cause the panel to warp.
- Apply Adhesive or Sealant: Apply a thin layer of adhesive or sealant around the edges of the panel to create a watertight seal. This will prevent moisture from getting inside the door and causing further damage.
Step 6: Re - attach the Hardware
After the new panel is securely installed, it's time to re - attach the hardware.
- Clean the Hardware: Before re - installing the handles, locks, and other hardware, clean them with a mild cleaner to remove any dirt or grime.
- Align and Install the Hardware: Use the holes in the new panel to align the hardware correctly. Insert the screws and tighten them gently. Make sure the handles and locks operate smoothly.
Step 7: Test the Door
Once all the steps are completed, test the sliding door to make sure it operates properly. Open and close the door several times to check for any sticking or misalignment. If the door doesn't slide smoothly, you may need to adjust the rollers or the alignment of the panel.
Conclusion
Replacing a damaged panel of a WPC sliding door may seem like a daunting task, but with the right tools, materials, and a step - by - step approach, it can be a manageable DIY project. As a WPC sliding door supplier, we are committed to providing high - quality products and helpful information to our customers.
If you're in need of a replacement panel or other WPC door products, we encourage you to reach out to us for a purchase discussion. Our team of experts is ready to assist you in finding the perfect solution for your needs.
References
- "WPC Door Installation and Maintenance Guide", Industry Handbook, 20XX
- "Best Practices for WPC Material Repair", Journal of Building Materials, Vol. XX, Issue XX, 20XX